 how-to
Cost of Fixing DIY Bathroom Plumbing Mistakes
Table of Contents
- Why DIY Bathroom Plumbing Mistakes Become Expensive
- Common Bathroom Plumbing Mistakes and Their Repair Costs
- Bathroom Plumbing Leak Repair Cost and Water Damage
- Cost to Fix a Wobbly Toilet and Related Issues
- Water Damage Repair After Plumbing Leak
- Understanding Your Plumbing Repair Estimate
- When to Stop DIY Repairs and Hire a Licensed Plumber
- How to Respond Immediately After a DIY Plumbing Failure
- Frequently Asked Questions
Last Updated: October 20, 2026
Why DIY Bathroom Plumbing Mistakes Become Expensive
A small leak from a loose connection seems like a quick fix, an hour, a wrench, done. But undetected for weeks, that leak can cost thousands.
DIY bathroom plumbing mistakes become expensive because they hide damage. Water seeps into walls, under floors, and behind fixtures, spreading far beyond the original error before you notice.
The real cost is the secondary damage: a cracked pipe pools water in the subfloor, leading to mold, structural rot, and foundation issues.
Common Bathroom Plumbing Mistakes and Their Repair Costs
The cost of fixing a DIY mistake depends on which component failed, how long it ran, and what it damaged. The table below breaks out the most common bathroom errors, typical correction costs, and the damage each triggers.
| DIY mistake | Typical correction cost (CAD) | Damage it commonly causes |
|---|---|---|
| Cross-threaded or missing washer on a supply connection | $150-$350 | Slow drip into cabinet, swollen particleboard, surface mold |
| Over-tightened compression fitting or shut-off valve | $250-$600 | Hairline crack, seep behind wall, stained drywall below |
| Wrong fitting or improper solvent weld on drain line | $400-$1,200 | Joint failure, concealed leak, saturated subfloor |
| Incorrect drain slope (too shallow or too steep) | $800-$2,000+ | Standing water, recurring clogs, backup into shower or sink |
| Wax ring damaged during toilet reset | $150-$300 (ring only); $500-$2,000+ if subfloor is wet | Leak under toilet, soft subfloor, rot at flange |
| Over-tightened toilet bolts | $400-$1,200 (new fixture) | Cracked porcelain, unstable base, repeat leaks |
| Improperly sealed shower valve or trim | $300-$900 | Water behind tile, failed backer board, mold in wall cavity |
| DIY snake damage to trap arm or P-trap | $200-$700 | Cracked trap, sewer gas, leak at joint |
These are correction costs, not restoration costs. If water has already reached drywall, flooring, or framing, add the restoration figures covered later in this article.
Incorrect pipe connections and leaks
Connecting pipes incorrectly is one of the most common bathroom plumbing mistakes, a wrong fitting, a cross-threaded connection, a forgotten washer. The leak starts as a slow drip and becomes a steady flow within days; behind a wall, you won't notice until damage appears in the room below. A plumber locates the leak, accesses the pipes, and installs the correct connection, 1-2 hours of labor.
Over-tightening fixtures and cracked pipes
Tightening a fixture seems straightforward, more pressure, better seal, right? Actually, over-tightening cracks pipes and damages threads. Too much force on a compression fitting or shut-off valve fatigues the metal, creating a hairline crack that seeps invisibly until the pipe ruptures and a small leak becomes a flood. Replacing a cracked pipe requires cutting into walls or floors, easily $500-$1,500 depending on location and water damage.
Improper slope in drainage pipes
Drainage pipes must slope downward toward the main drain line. Too shallow and water pools, breeding bacteria and clogs; too steep and solids separate and accumulate.
Many DIY attempts ignore slope requirements. The pipes might look fine visually, but the angle is wrong. Over weeks or months, blockages develop.
Correcting the slope means accessing the entire drainage line, removing and rerouting pipe sections, and reinstalling fixtures, labor-intensive work costing $800-$2,000 or more.
Errors the table above does not capture
Some mistakes don't fit a single line item. A shower valve without proper backing or sealing can leak inside the wall for months before a ceiling stain appears. A DIY snake run too aggressively through a trap arm can crack the fitting and release sewer gas. A toilet flange at the wrong height can compress a new wax ring and fail within weeks.
Why the cheapest correction is rarely the cheapest outcome
A homeowner facing a $250 correction for a cross-threaded fitting may retry the repair, but the second attempt often damages the threads further, turning a fitting replacement into a section replacement. If a repair has already failed once, the next step should be diagnosis, not another attempt.
Bathroom Plumbing Leak Repair Cost and Water Damage
A bathroom plumbing leak spreads quickly, flowing downward and sideways into drywall, wood framing, insulation, and subflooring.
Water damage repair costs depend on how long the leak ran undetected, which materials were affected, whether mold has begun to grow, whether structural framing is compromised, and how accessible the damaged area is.
A visible leak under the sink caught immediately might cost $300-$600 to repair and dry.
Cost to Fix a Wobbly Toilet and Related Issues
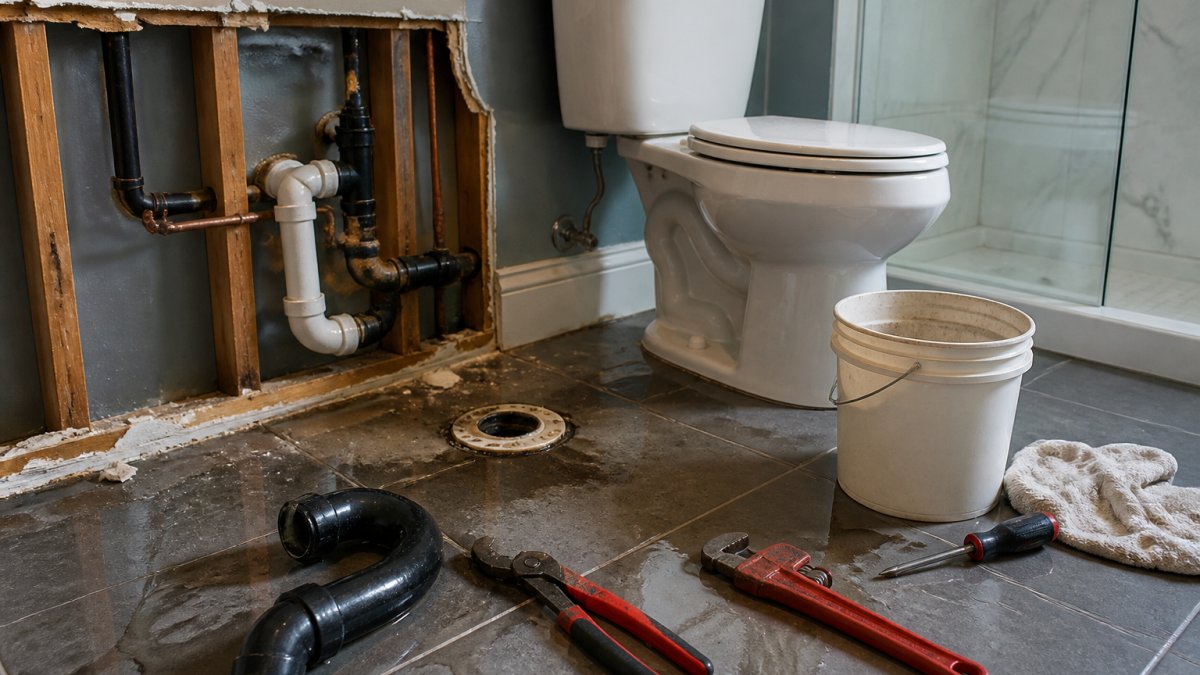
A wobbly toilet signals loosened floor bolts or a failed wax ring. Many homeowners just tighten the bolts, until they realize the wax ring is damaged and water is leaking into the subfloor.
A straightforward wax ring replacement costs $150-$300. If subfloor damage is discovered, add $500-$2,000 for materials and labor. Over-tightening the bolts can crack the porcelain, requiring a new toilet ($400-$1,200).
Water Damage Repair After Plumbing Leak
Once water damage is confirmed, the most useful distinction for a homeowner is between plumbing repair and restoration, separate scopes, often separate trades, billed separately.
- Plumbing repair stops the leak and restores the system: pipe, fitting, valve, trap, or fixture.
- Restoration returns the building materials to their pre-loss condition: drywall, insulation, framing, subfloor, tile, flooring, cabinetry, trim, and paint.
- Remediation is the subset of restoration that addresses mold or contaminated materials.
A plumber's invoice covers the first category. The restoration contractor's invoice covers the second and third. Homeowners are often surprised by the second invoice because the plumber's quote did not include it.
The restoration sequence and what each stage costs
First, stop the leak and dry the area. Professionals use dehumidifiers and air movers for 3-7 days depending on the extent of damage; drying equipment and monitoring typically run $500-$2,500.
Next comes mold assessment. If mold is present, a remediation specialist treats the area, adding $500-$3,000, with containment and clearance testing pushing the upper end higher.
Materials are then replaced, damaged drywall, waterlogged insulation, rotted framing, and water-absorbing flooring, and the area is finished: drywall taped, mudded, and painted, new flooring installed, and trim and baseboards replaced.
Finish-level costs in a bathroom
Bathroom restoration costs more per square foot because finishes aren't interchangeable. A hallway drywall patch is just a patch; in a shower surround it requires backer board, waterproofing, and matching tile.
| Material affected | Typical restoration cost (CAD) |
|---|---|
| Drywall removal, replacement, tape, mud, paint (per 100 sq ft) | $900-$2,000 |
| Ceramic or porcelain tile removal and replacement (per 100 sq ft, materials and labor) | $1,500-$4,500 |
| Luxury vinyl plank or engineered hardwood (per 100 sq ft) | $800-$2,500 |
| Subfloor section replacement (per 100 sq ft) | $700-$2,000 |
| Vanity or cabinetry replacement (single unit) | $600-$3,000 |
| Insulation replacement (per 100 sq ft) | $200-$600 |
| Framing repair for rot (per linear foot) | $150-$500 |
These figures are restoration only. Add the plumbing correction cost from the earlier table to reach the full project cost.
Total cost by severity
Water damage repair costs vary widely:
- Minor damage (under 50 sq ft, no mold, no structural damage): $1,500-$3,000
- Moderate damage (50-150 sq ft, possible mold, some framing affected): $4,000-$8,000
- Severe damage (over 150 sq ft, confirmed mold, significant structural damage): $8,000-$15,000+
The timeline for repairs is 2-4 weeks depending on severity. During this time, the bathroom may be unusable.
Insurance, warranties, and code compliance
Three financial questions determine how much of the restoration bill lands on the homeowner.
Insurance. Homeowner policies commonly cover sudden and accidental water damage but exclude damage from long-term seepage, repeated leaks, or faulty workmanship.
Warranties. A manufacturer's warranty on a fixture or fitting is typically voided by improper installation.
Code compliance. Bathroom plumbing work often requires a permit and inspection, and requirements vary by province and municipality (Building or renovation permits).
How to assess a plumber's estimate after a botched repair
When a plumber provides an estimate after a DIY failure, the number might shock you. Understanding what's included helps you see why the cost is justified.
A repair estimate breaks down into:
- Labor cost: Hourly rate multiplied by estimated hours
- Materials: Pipes, fittings, fixtures, sealants, and supplies
- Inspection and diagnosis: Time spent identifying all damage
The estimate should itemize each component; if not, ask for a detailed breakdown.
Compare estimates from multiple plumbers, but don't automatically choose the lowest price. A low estimate might mean the plumber missed damage or plans to cut corners.
Understanding Your Plumbing Repair Estimate
When a plumber provides an estimate after a DIY failure, the number might shock you.
A repair estimate breaks down into:
- Labor cost: Hourly rate multiplied by estimated hours
- Materials: Pipes, fittings, fixtures, sealants, and supplies
- Inspection and diagnosis: Time spent identifying all damage
The estimate should itemize each component. If it doesn't, ask for a detailed breakdown.
Compare estimates from multiple plumbers, but don't automatically choose the lowest price.
Ask the plumber about warranty coverage. Professional repairs typically include a warranty on labor (1-5 years) and materials (manufacturer's warranty).
When to Stop DIY Repairs and Hire a Licensed Plumber
Knowing when to stop and call a professional saves money. DIY repairs are reasonable for replacing a sink strainer or drain stopper, unclogging a drain with a plunger, tightening a loose connection you can see and access, replacing a faucet aerator, and installing a new showerhead. Stop and hire a professional if water is actively leaking and you can't locate the source, the repair requires cutting into walls or floors, the problem involves the main water or sewer line, you're unsure which pipe or fitting is correct, you lack the special tools, the plumbing connects to a septic system, you've already attempted the repair and it didn't work, or the repair affects multiple rooms or systems.
How to Respond Immediately After a DIY Plumbing Failure
If a DIY plumbing repair fails and water starts leaking, your immediate actions prevent further damage.
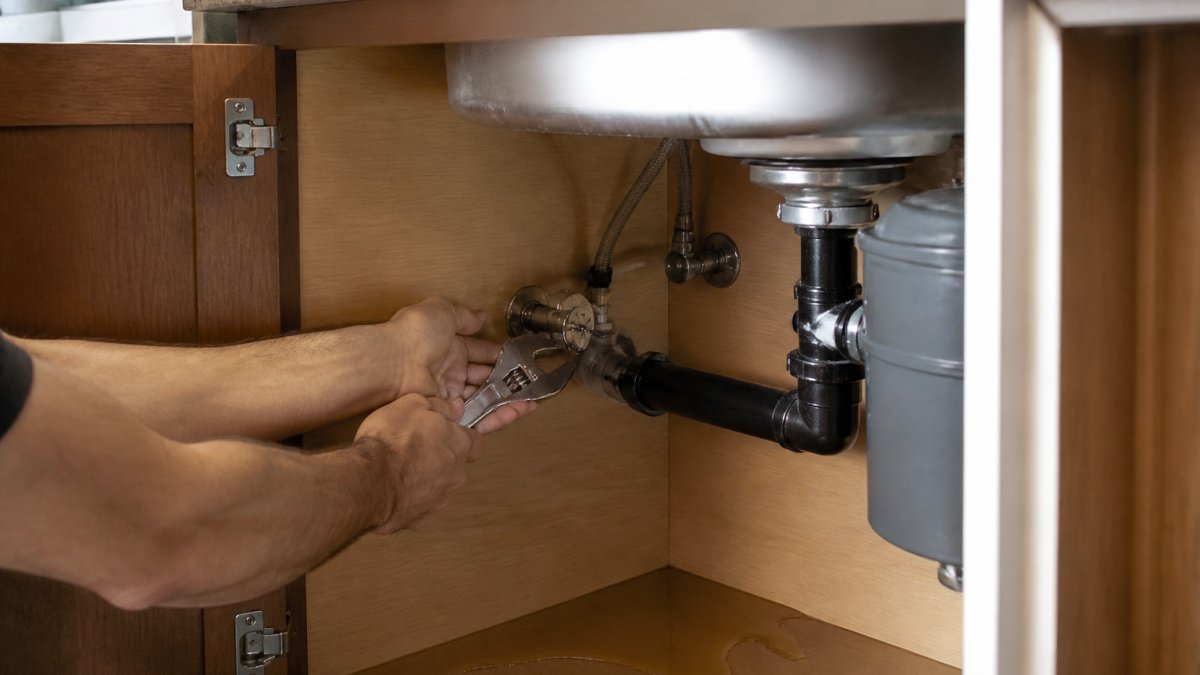
Step 1: Stop the water flow
Step 2: Assess the leak
Step 3: Dry the area
Absorb standing water with towels, open windows and doors for air circulation, and run a dehumidifier or fan.
Step 4: Call a professional plumber
Contact a licensed plumber immediately, explain what happened, and describe the damage.
Step 5: Contact your insurance company
Step 6: Don't attempt repairs
Resist the urge to fix it yourself again.
Water damage from plumbing mistakes spreads fast and costs far more than the original repair.
Frequently Asked Questions
How much does it cost to repair a bathroom plumbing leak?
Repair costs for bathroom plumbing leaks vary widely depending on the source and severity. A small leak from a fixture connection might cost $150-$400 to fix, while a leak in a supply pipe behind the wall can exceed $1,500 once you factor in wall removal and drywall repair. If the leak has caused water damage to subfloors or framing, restoration costs can add another $1,000-$5,000 or more. A licensed plumber will assess the leak's location and provide a detailed repair estimate before work begins.
What is the most expensive DIY plumbing mistake to fix?
Cracked or burst pipes hidden behind walls are among the costliest mistakes. A DIY attempt to force a pipe fitting or over-tighten a connection can crack the pipe, leading to slow leaks that damage insulation, framing, and drywall before they're discovered. Repairing a hidden pipe often requires cutting into walls, replacing sections of pipe, and restoring the wall structure, easily $2,000-$4,000 or more. Water damage repair compounds the cost further if the leak goes undetected for weeks.
How do I know if a DIY plumbing repair caused hidden water damage?
Watch for soft or discolored drywall, musty odors, mold spots, or a sudden increase in your water bill after a DIY repair. If you notice water pooling under the sink or cabinet, turn off the water supply immediately and call a professional. Hidden damage often appears days or weeks after the initial failure, so monitor the area closely. A plumber can use moisture detection tools to identify water trapped in walls or under flooring, which is critical for preventing mold and structural decay.
When should I stop a DIY plumbing repair and call a professional?
Stop immediately if you encounter cracked pipes, frozen lines, or leaks that don't stop after you've tightened a connection. If you're working with supply pipes under pressure or drainage pipes that require precise slope, hire a licensed plumber. Any repair involving walls, floors, or multiple fixtures is best left to professionals. Attempting complex work without proper tools and knowledge often leads to costly mistakes. A professional inspection costs far less than fixing a botched repair.