 how-to
7 Ways to Soundproof a Basement Ceiling That Actually Work
Last Updated: November 1, 2026
Quick Summary
To soundproof basement ceiling effectively, first identify whether you are fighting airborne or impact noise, then build an assembly that absorbs sound in the joist bays, adds mass, and breaks the vibration path. The best results come from mineral wool insulation, resilient channels or isolation clips, and two layers of drywall with damping compound, all sealed with acoustic caulk.
- Stand in the basement while someone walks above: thuds mean impact noise, muffled voices mean airborne noise.
- Seal gaps, cracks, and the perimeter with acoustic caulk before adding insulation and drywall.
- Run resilient channels perpendicular to joists, space them no more than 16 inches on center, and stop them short of walls.
- Offset the second drywall layer's seams from the first by at least one joist bay to prevent sound leaks.
- No basement ceiling becomes silent: voices and TV improve most, while bass from a subwoofer is hardest to stop.
Table of Contents
- Step 1: Identify Airborne vs Impact Noise Before You Soundproof
- Step 2: Choose the Right Soundproofing Basement Ceiling Materials
- Step 3: How to Reduce Footstep Noise Between Floors
- Step 4: Install Insulation and Decouple the Ceiling
- Step 5: Soundproof a Ceiling Without Removing Drywall
- Step 6: Understand Soundproofing Cost for a Basement Ceiling
- Step 7: Set Realistic Performance Expectations and Measure Results
- Frequently Asked Questions
Step 1: Identify Airborne vs Impact Noise Before You Soundproof
Airborne noise is sound that travels through the air and then through your floor assembly.
Impact noise is different. It comes from something striking the floor directly.
Here is the practical test. Stand in the basement while someone walks across the floor above.
Why does the distinction matter?
A sound transmission class rating tells you how well a wall or floor blocks airborne sound.
Step 2: Choose the Right Soundproofing Basement Ceiling Materials
Soundproofing basement ceiling materials fall into three jobs: absorb sound inside the cavity, add mass to block it, and break the physical path the vibration travels along. A good assembly does all three.
Mineral wool and fiberglass insulation
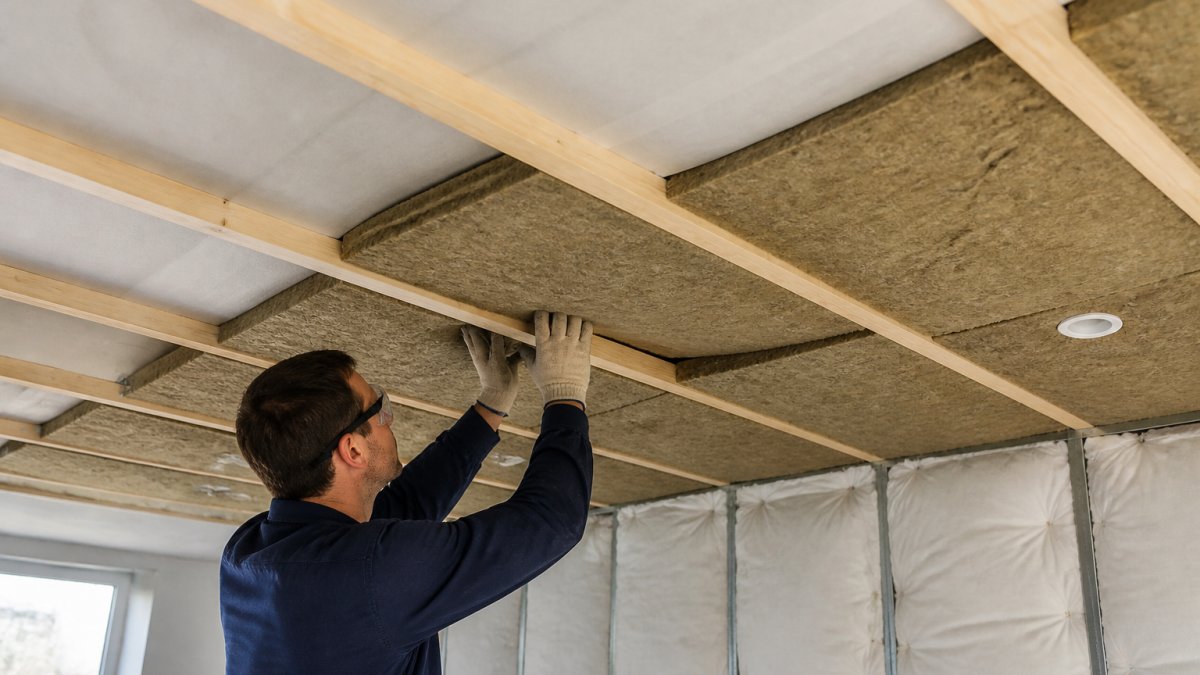
Mineral wool, often called rock wool, is the workhorse. It packs between the joists and soaks up sound energy in the cavity. Both are fire-resistant and moisture-tolerant when installed correctly.
Acoustic drywall and damping compound
Mass blocks sound. A second layer of drywall adds that mass.
Damping compound is the detail most people skip. Spread between two layers of drywall, it turns vibration into a tiny amount of heat instead of letting the panels ring.
Resilient channels and sound isolation clips
These are the decoupling materials. Resilient channels are metal strips screwed to the joists, and the drywall hangs from them instead of the joists.
The catch: if a single screw bridges the channel to the joist, you have rebuilt the path you were trying to cut.
If you are still weighing how the finished ceiling should look, our guide to basement ceiling ideas covers the design side alongside the acoustic options.
Step 3: How to Reduce Footstep Noise Between Floors
Reducing footstep noise between floors starts above the basement ceiling, not below it. Impact noise enters through the floor surface, so the cheapest wins usually happen upstairs.
Try these before you open the ceiling:
- Lay thick rugs or carpet runners on the floor above, especially on stairs and hallways
- Add felt pads under chair and table legs
- Put a rubber mat under the washing machine
Carpet and padding take the edge off footsteps. They will not stop a heavy walker, and they do nothing for airborne voices. Treat them as a supplement, not a fix.
If footsteps are the main complaint and the floor above is due for a refresh anyway, adding underlayment or a floating floor upstairs often delivers more relief per dollar than any basement ceiling work.
Step 4: Install Insulation and Decouple the Ceiling
A typical basement ceiling sequence runs in this order. The exact assembly depends on your noise problem and headroom, but the sequencing and sealing rules apply to most of them.
- Map every wire, pipe, duct, and fixture before you touch anything
- Seal gaps, cracks, and the perimeter with acoustic caulk
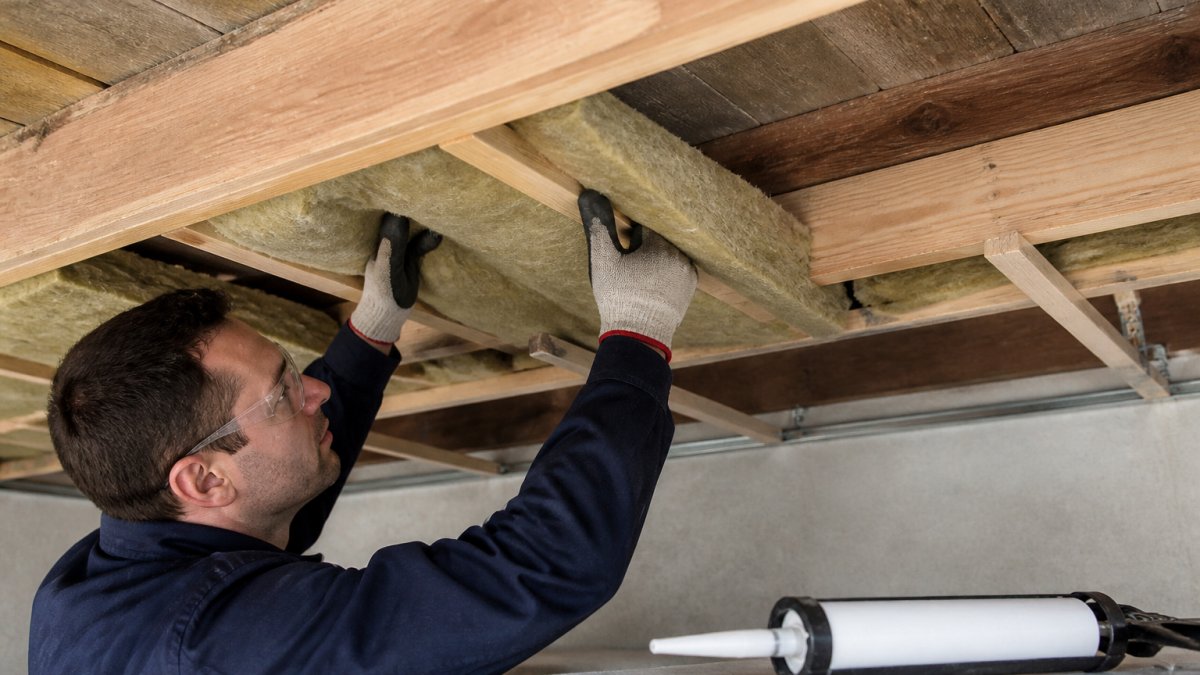
- Fill the joist bays with mineral wool or fiberglass
- Screw resilient channels or isolation clips to the joists
- Hang the first drywall layer, then apply damping compound
- Add the second drywall layer and stagger the seams
- Seal the new ceiling perimeter and around every penetration
Compatible assemblies by goal
Not every layer belongs together. These three assemblies cover most basement ceilings and are built from compatible products:
- Absorption plus mass (budget, airborne focus): mineral wool in the bays, one layer of 5/8-inch acoustic drywall screwed directly to joists, acoustic caulk at perimeter and penetrations. This is the lowest-cost assembly and helps voices and TV most. It does little for impact noise.
- Mass plus damping (balanced): mineral wool in the bays, first layer of 5/8-inch drywall, damping compound, second layer of 5/8-inch drywall with staggered seams. This adds mass and kills panel resonance. It is a good middle option when headroom is tight and you cannot afford decoupling.
- Decoupled, damped, and insulated (best airborne and impact): mineral wool in the bays, resilient channels or isolation clips, first drywall layer, damping compound, second drywall layer. This is the assembly to choose when footsteps and bass are the main complaints, but it costs the most and drops the ceiling the most.
Do not mix direct-attached drywall with resilient channels on the same ceiling plane. Pick one approach and carry it across the room.
Fastening and sequencing details that decide the result
- Resilient channels: run them perpendicular to the joists, space them no more than 16 inches on center, and stop them short of walls so they can flex. Use the manufacturer's specified screws and do not drive screws through the channel into the joist.
- Isolation clips: follow the clip spacing for your joist spacing and load. More clips is not automatically better if they are installed off-center or over-tightened.
- Drywall screws: use screws long enough to penetrate the framing by at least 5/8 inch. Over-drive breaks the paper and weakens the hold; under-drive leaves the panel loose and rattling.
Sealing gaps and perimeter cracks
Sound escapes through the smallest openings. Seal the joint where the ceiling meets the wall, around pipes, and around electrical boxes. Use acoustic caulk, not standard painter's caulk. This is flanking noise, sound that sneaks around your expensive assembly instead of through it. It is the most common reason a soundproofing job underperforms.
Working safely around utilities and fixtures
Never bury a junction box, and never cover a shut-off valve you may need in a hurry. In older homes, check for asbestos-containing materials before you cut into a ceiling, and follow the rules in the Canadian asbestos safety guidance for handling and removal.
Before the ceiling comes down, read our steps on managing dust during a renovation. Opening a ceiling creates more dust than most people expect.
These three compatible assemblies cover most basement ceilings, each built from products that belong together.
| Assembly | Best for | Key difference |
|---|---|---|
| Absorption plus mass | Airborne noise on a budget | Mineral wool, one layer 5/8-inch drywall direct to joists, caulk |
| Mass plus damping | Balanced result with tight headroom | Two drywall layers with damping compound, no decoupling |
| Decoupled, damped, and insulated | Footsteps and bass | Resilient channels or isolation clips, two layers, damping compound |
Step 5: Soundproof a Ceiling Without Removing Drywall
You can soundproof a ceiling without removing drywall, but you are limited to adding mass and damping from below.
The usual approach is to add a layer of acoustic drywall with damping compound, hung on resilient channels fixed to the existing ceiling.
What you cannot do this way is fill the joist cavity.
Watch out: adding layers of drywall and channel can drop the ceiling by several centimeters. In a basement with low headroom, that matters.
Step 6: Understand Soundproofing Cost for a Basement Ceiling
The cost of a soundproof basement ceiling depends on three things: the square footage, how many layers you add, and whether you decouple. There is no honest single number, and any contractor who quotes one without seeing the space is guessing.
What drives the bill up:
- Isolation clips and resilient channels, which cost more than direct-attached drywall
- A second layer of drywall plus damping compound
- Labor to work around ducts, pipes, and wiring
What keeps it down:
- Keeping the existing ceiling and adding one layer
- Doing the upstairs fixes in Step 3 first
- Handling a smaller area, such as directly under a bedroom
For current pricing on our renovation work, see the Restmark Renovations services page, or contact our team for a free estimate.
Step 7: Set Realistic Performance Expectations and Measure Results
No basement ceiling becomes silent. A well-built assembly cuts noise a lot, but it does not erase it.
Set expectations before work starts:
- Airborne noise from voices and TV improves the most
- Footsteps improve, but rarely disappear entirely
- Bass from a subwoofer is the hardest sound to stop
What STC and IIC ratings do and do not predict
A sound transmission class rating tells you how well a wall or floor blocks airborne sound. An impact insulation class rating measures resistance to footfall noise. Those are the two numbers worth asking about.
What they do not tell you:
- They are lab numbers. STC and IIC are measured in controlled test rooms, not in your basement. Real-world performance is usually lower because of flanking paths, penetrations, and workmanship.
- They are single-number summaries. A product can hit a good STC while still leaking at a specific frequency, often low bass, that matters to you.
- They do not cover impact unless it is an IIC rating. A high-STC assembly can still transmit footsteps if it is not decoupled.
Use ratings to compare products on paper, not to promise a result in your home.
A repeatable before-and-after check
Measure the result the same way twice. Pick a test sound, such as a phone playing music at a set volume upstairs, and listen from the same spot in the basement before and after.
To make it more consistent:
- Use the same sound source, volume, and position each time
- Stand in the same spot and note what you hear at the same distance
- Test at different times of day so background noise does not skew your impression
If the goal is usable living space downstairs, soundproofing is one piece of a bigger plan. Our guide on how to get more living space without moving covers the rest.
Frequently Asked Questions
What is the easiest way to soundproof a basement ceiling?
The simplest approach is to fill the joist cavities with mineral wool or fiberglass insulation and seal all gaps with acoustic caulk. This reduces airborne noise like voices and TV sound without major demolition. For impact noise from footsteps, you will need to add mass or decoupling, which is more involved. Start with insulation and sealing if you want a low-disruption first step.
Can you soundproof a basement ceiling without removing the drywall?
Yes. You can add a second layer of acoustic drywall with damping compound directly over the existing ceiling, or install resilient channels and new drywall below it. Sealing gaps around pipes and perimeter edges also helps. These methods reduce ceiling height but avoid full demolition.
Does soundproofing the ceiling really work?
It works best when you address the specific noise type. Insulation and sealing cut airborne noise effectively, while decoupling and mass handle impact noise. A single measure rarely solves everything. Combining insulation, damping compound, and resilient channels can noticeably reduce sound transmission, but perfect silence is unrealistic. Set expectations around a noticeable reduction in perceived noise with a well-built assembly.
Is it better to soundproof a basement ceiling from above or below?
Treating from below, inside the basement, is more common because it does not disrupt the floor above. However, adding mass or a floating floor above can be more effective for impact noise. For airborne noise, below-ceiling insulation and sealing work well. If you are renovating both levels, combining subfloor treatment above with ceiling treatment below gives the best result.
A quiet basement starts with the right diagnosis, not the thickest panel. At Restmark Renovations, we build basement ceilings with careful sealing, proper insulation, and clean, sharp finishing details, all managed with clear timelines and transparent pricing so you know what is happening at every stage. Get started with Restmark Renovations and turn your basement into space you actually want to use.