 ultimate-guide
How to Renovate a 1970s Home: A Practical 2026 Guide
Table of Contents
- Start With a Professional Assessment Before You Renovate a 1970s Home
- Asbestos and Vermiculite in 1970s Homes: What to Check First
- 1970s Home Electrical Panel Upgrades and Plumbing Overhauls
- Energy Retrofits for Older Homes: Insulation, Windows, and HVAC
- Modernizing the Floor Plan, Kitchen, and Bathroom Layouts
- 1970s Home Renovation Cost: What Drives the Budget
- Cosmetic Updates, Curb Appeal, and Smart Home Integration
- Common Mistakes to Avoid When You Renovate a 1970s Home
- Frequently Asked Questions
Last Updated: September 15, 2026
Start With a Professional Assessment Before You Renovate a 1970s Home
To renovate 1970s home properties well, you first need to understand what you're working with. That decade produced distinctive housing stock: split-level entries, sunken living rooms, popcorn ceilings, and floor plans built around formal separation. The bones are often excellent. The systems usually are not.
At RestMark Renovations, we know the assessment phase decides whether a project runs smoothly or spirals. A professional walkthrough should cover three things before anyone swings a hammer: foundation and structure, mechanical systems, and paperwork. Skip any one and you'll pay for it later.
Foundation, Structure, and Load-Bearing Walls
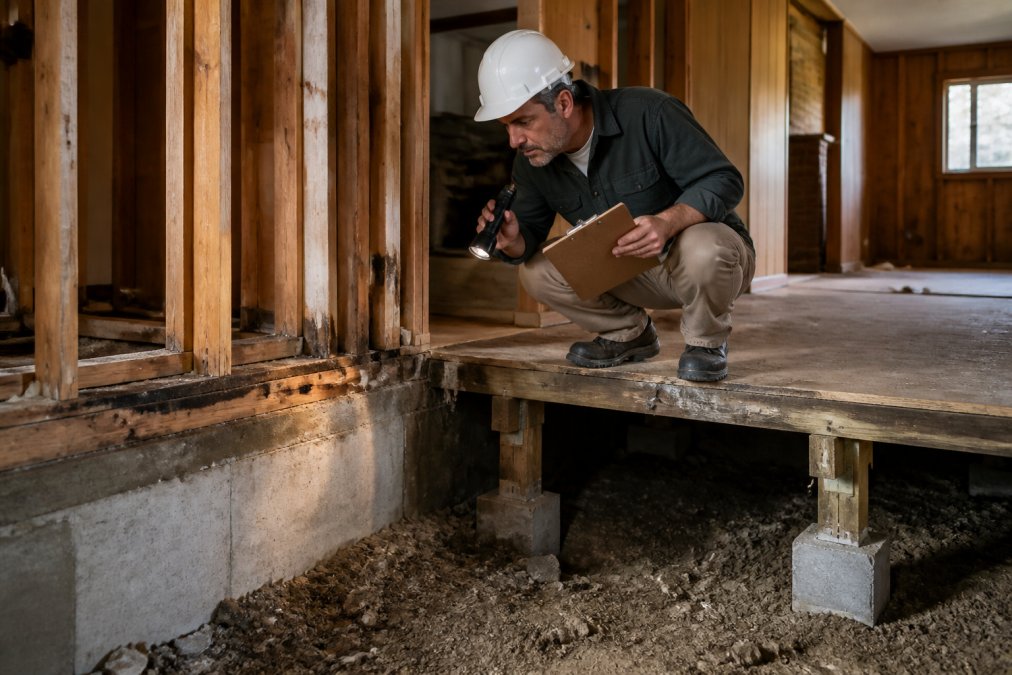
A load-bearing wall carries structural weight from above to the foundation below. In 1970s homes, these are often hidden behind drywall and rarely where you'd expect.
Removing the wrong one can compromise structural integrity across the house. A structural engineer or experienced contractor can identify them during the assessment by examining framing in the basement or crawlspace.
Watch for foundation cracks wider than a few millimetres, sloping floors, and doors that stick seasonally. These signal movement that needs addressing before cosmetic work begins.
What Building Permits and Zoning Rules Apply
Most structural changes require a building permit, and many municipalities govern setbacks, lot coverage, and height through zoning bylaws. Adding square footage or a rear extension almost always triggers both.
Your contractor should handle the permit application, but you should understand what's being filed. Unpermitted work discovered during a future sale can delay closing or force expensive remediation.
Asbestos and Vermiculite in 1970s Homes: What to Check First
Asbestos and vermiculite are the biggest hidden risk in homes built between 1950 and 1990 (Vermiculite Insulation Containing Tremolite Asbestos). Vermiculite insulation, often sold as Zonolite, was installed in millions of attics and wall cavities and can contain asbestos fibres.
If your attic has loose-fill insulation that looks like pebbles or gravel, do not disturb it, vacuum it, or store boxes on it. A certified inspector can test a sample, and if asbestos is present, licensed abatement professionals remove it under controlled conditions before any renovation touches that space.
Other common asbestos locations in 1970s homes include floor tiles, ceiling texture, pipe insulation, and some types of siding. A hazardous materials survey before demolition is standard practice for a reason.
1970s Home Electrical Panel Upgrades and Plumbing Overhauls
Electrical and plumbing are where 1970s homes most reliably fail modern expectations, and where the least visible money gets spent. Understanding them helps you plan scope and sequence instead of discovering problems mid-demolition.
Electrical: Why 100 Amps Is No Longer Enough
A 100-amp service was generous in 1975 (Energy Use in Canada: Trends Publications). Today, an induction range can draw 40 to 50 amps, a heat pump 20 to 30, an EV charger 32 to 48, and a tankless water heater 60 or more. Add lighting, receptacles, and a home office, and the service is overloaded. Most full renovations of homes this age include a 200-amp upgrade, and some larger homes go to 320 amps.
Three electrical issues recur in this housing stock:
- Aluminum branch wiring. Common in the late 1960s and 1970s, aluminum expands and contracts differently than the brass terminals it connected to, loosening connections and creating a fire risk. Remediation includes re-terminating with approved connectors (pigtailing with copper), replacing affected circuits, or a full rewire. A licensed electrician should assess which is appropriate.
- Two-prong ungrounded receptacles. Many 1970s homes have no equipment ground at outlets. GFCI protection and proper grounding are now expected in kitchens, bathrooms, and exteriors, and a renovation is the moment to bring them up to standard.
- Federal Pacific and similar legacy panels. Some panels from this era have a reputation among electricians for failing to trip under fault conditions. If your panel carries one of these names, replacement is usually recommended rather than repaired.
Electrical work is regulated under the Canadian Electrical Code, adopted with provincial or territorial amendments, and most jurisdictions require a permit and inspection for panel changes, new circuits, and service upgrades. Your electrician pulls the permit; confirm it was pulled before work begins.
Plumbing: Polybutylene, Galvanized Steel, and Low Pressure
Two pipe materials dominate the problem list. Polybutylene supply lines, used from the late 1970s into the 1990s, are prone to brittle failure and sudden leaks, and most insurers won't cover a home with them in service. Galvanized steel, still present in some 1970s builds, corrodes from the inside, narrowing the bore and dropping pressure at fixtures.
A plumbing overhaul replaces both with PEX or copper, adds shut-off valves at each fixture group, and addresses low water pressure. If your home still has a tank in a basement corner, this is also the moment to evaluate a heat pump water heater, which pairs well with the electrical upgrade.
What This Costs You in Time
A panel upgrade is typically a one- to two-day job once the permit is issued. A whole-home rewire of a 1,500-square-foot 1970s home commonly runs one to two weeks of trade time, and a full plumbing replacement runs similar. Both require open walls, which is why they belong in the first phase of any renovation that touches the layout.
Energy Retrofits for Older Homes: Insulation, Windows, and HVAC
Energy retrofits for older homes deliver the highest long-term return of any renovation category. A 1970s house was built when energy was cheap, so insulation is minimal, windows are single-pane, and the HVAC system has been patched together over decades.
Start with the building envelope: attic insulation, accessible wall insulation, and air sealing around penetrations. Then address windows and doors, the largest source of heat loss and drafts.
HVAC modernization usually means replacing an aging furnace with a high-efficiency system and adding a heat pump where the panel supports it. Thermal performance improves dramatically when envelope work happens before mechanical upgrades, so sequence matters.
| Retrofit | Typical Priority | Main Benefit |
|---|---|---|
| Attic and wall insulation | First | Reduces heat loss, improves comfort |
| Air sealing | First | Stops drafts, lowers heating demand |
| Window and door replacement | Second | Cuts drafts, improves thermal performance |
| HVAC and heat pump upgrade | Third | Efficient heating and cooling, better control |
Modernizing the Floor Plan, Kitchen, and Bathroom Layouts
Opening up a 1970s floor plan is the transformation most homeowners want: removing unnecessary walls, improving sightlines, and letting natural light reach the centre of the home.
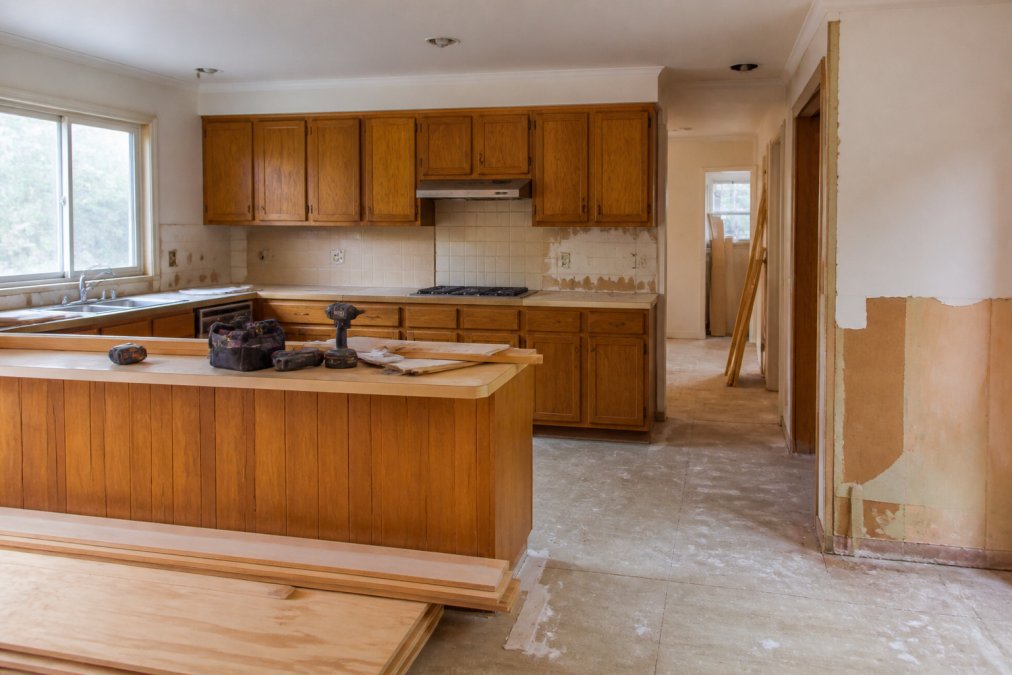
Kitchens in this era were often closed off and small. Modern layouts favour an open kitchen connected to dining and living areas, with an island that doubles as prep space and gathering point. Bathrooms benefit from reconfiguring fixtures to eliminate wasted space and adding storage the original design never included.
Opening Up the Main Floor and Improving Indoor-Outdoor Flow
Indoor-outdoor flow is where 1970s homes often have a hidden advantage.
1970s Home Renovation Cost: What Drives the Budget
The Four Cost Drivers, in Order of Impact
What Actually Surprises Homeowners
How to Get a Real Number
Cosmetic Updates, Curb Appeal, and Smart Home Integration
Common Mistakes to Avoid When You Renovate a 1970s Home
Frequently Asked Questions
How to modernize a 1970s house without losing its character?
Focus on the features worth keeping: architectural lines, brick fireplaces, and original wood trim. Update what dates the home instead, like popcorn ceilings, closed-off layouts, and orange-toned oak cabinets. Opening the main floor, adding natural light through larger windows or skylights, and choosing a neutral palette gives you a modern feel while the home's structure still reads as a 1970s build. A designer can help you decide which architectural features to preserve.
What hazardous materials should I look for when renovating a 1970s home?
Asbestos is the main concern in homes built before the mid-1980s. It shows up in vermiculite attic insulation, floor tiles, ceiling texture, drywall joint compound, and some pipe wrap. Lead paint is less common in 1970s homes but possible in older layers. Before any demolition, have a qualified inspector test suspect materials. If asbestos is found, abatement must follow provincial rules and be handled by a licensed contractor, not a general renovator.
How long will a house built in the 1970s last?
The structure itself can last well over 100 years if it has been maintained. The systems are the limiting factor. Original electrical panels, aluminum wiring, and galvanized plumbing typically reach end of life after 40 to 50 years, which is where most 1970s homes sit now. Roofs, windows, and HVAC units also have defined lifespans. A professional assessment will tell you which systems are due for replacement and which still have years left.
Is it worth renovating a 1970s split-level home?
In most cases, yes. Split-levels sit on generous lots, have solid bones, and offer square footage that would cost far more to build new. The sunken living room and closed-off kitchen are the two features buyers dislike most, and both can be addressed with floor plan optimization. Energy retrofits and electrical upgrades also add lasting value. A renovation that fixes the layout and systems usually costs less than buying a comparable newer home.