 ultimate-guide
Renovating 1970s Homes in Ontario: A 2026 Guide
Table of Contents
- Why Renovating 1970s Homes Is Worth It
- Your 1970s Home Renovation Checklist
- Ontario Permits, Building Code, and Inspections
- 1970s Home Renovation Costs: What Drives Your Budget
- 1970s Kitchen Renovation Ideas That Work Today
- 1970s Bathroom Renovation Ideas for Modern Living
- Insulation, Air Sealing, and Moisture Control for Ontario Homes
- Sequencing Your Renovation: Timelines and Living Through Construction
- Frequently Asked Questions
Last Updated: October 15, 2026
Why Renovating 1970s Homes Is Worth It
Renovating 1970s homes in Ontario is one of the smartest moves an older-home owner can make: these properties sit on generous lots in established neighborhoods and carry solid structural bones newer builds often lack.
At Restmark Renovations, we work on mid-century and 1970s properties across the Greater Hamilton area, and the pattern is consistent: the frame is sound, the systems are tired.
Three things make these homes worth the investment:
- Location you can't replicate. Mature trees, wider lots, and established streets are assets no new subdivision can match.
- Character worth preserving. Mid-century modern lines, original brick, and thoughtful proportions are back in demand.
- Systems that need one coordinated upgrade. Insulation, wiring, plumbing, and windows typically all reach end-of-life around the same time, so a single well-planned project handles them together.
Your 1970s Home Renovation Checklist
A 1970s home renovation checklist should cover the building envelope, mechanical and electrical systems, hazardous materials, and layout, in that order, because each stage affects what's possible in the next.

Work through these before you commit to a design:
- Have a qualified inspector assess structure, foundation, and moisture
- Test for asbestos and other hazardous materials before any demolition
- Map the electrical panel capacity and look for aluminum wiring
Diagnosing Common 1970s Construction Issues
Homes built in that era share recognizable weak points. Aluminum branch-circuit wiring appears in many late-1960s and early-1970s properties and needs specialist assessment before you add load.
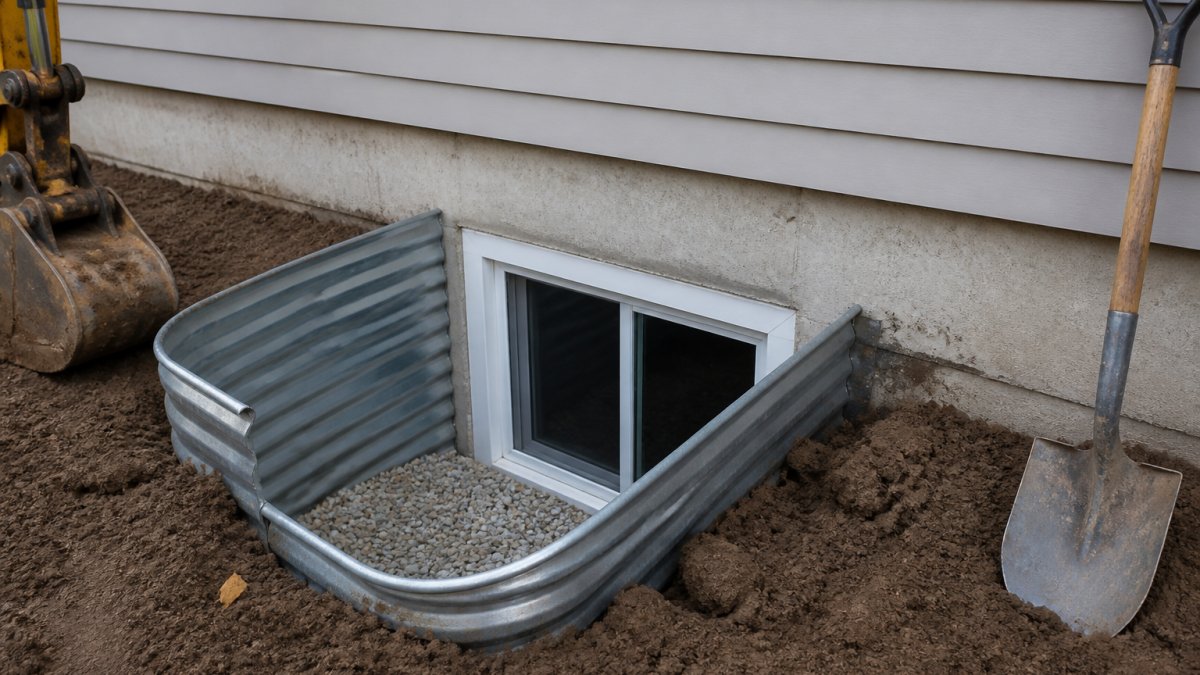
Foundations from this period are usually poured concrete or block, and many have never had exterior waterproofing. That's a moisture problem waiting for a wet spring, not a structural emergency, but it belongs on the plan.
Hazardous Materials and Safe Assessment
Asbestos-containing materials were widely used through the 1970s and can appear in floor tiles, ceiling texture, pipe and duct insulation, and some joint compounds. Disturbing them during demolition without testing releases fibers into the air.
Ontario regulates asbestos work under the Occupational Health and Safety Act and its associated regulation, which sets out requirements for assessment, handling, and disposal. Before opening walls or removing finishes in a home of this age, arrange a professional hazardous materials assessment.
Ontario Permits, Building Code, and Inspections
Most substantial renovations in Ontario require a building permit, and the Ontario Building Code governs how the work must be built.
Generally, you will need a permit for:
- Structural work, including load-bearing wall removal
- Additions and changes to the building footprint
- New or altered plumbing and drainage
Cosmetic updates like paint, flooring, and cabinet replacement typically don't require a permit, but they often uncover work that does.
This is where an experienced contractor earns their fee. Sequencing inspections correctly keeps the project moving; missing one can mean opening a finished wall.
1970s Home Renovation Costs: What Drives Your Budget
A 1970s home renovation in Ontario is priced by what's behind the walls, not the square footage on the listing.
Where the budget goes
- Design and drawings. A meaningful line item before any permit is filed. Structural drawings, architectural plans, and engineering stamps for beam or load-bearing work are separate from contractor pricing.
- Permits and inspections. Municipal building permit fees scale with project value, and electrical permits come separately through the Electrical Safety Authority. Budget for both, plus reinspection fees if a stage fails.
- Hazardous materials assessment and abatement. Testing is inexpensive relative to what it protects. Abatement of asbestos-containing floor tile, duct wrap, or joint compound is priced by quantity and containment requirements, and must happen before demolition.
What actually drives the number up
- Hidden damage. Water behind a basement wall, rot at a sill plate, or a cracked drain line under a slab. None of it is visible at the quote stage.
- Layout changes. Moving a kitchen or bathroom means new supply, drain, venting, and electrical runs. Updating finishes in place costs a fraction of relocating the room.
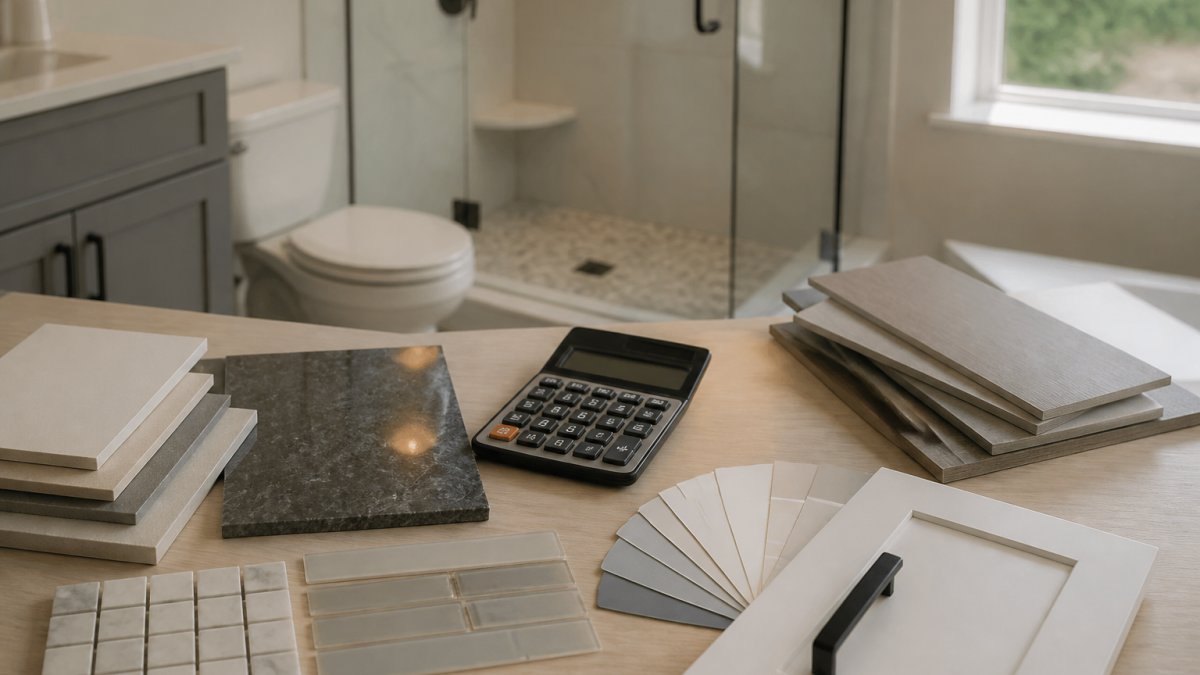
- Finish level. Two kitchens of identical size can differ by tens of thousands of dollars based on cabinet construction, counter material, and appliance package.
Contingency is not optional
A contingency is standard practice on a home of this age. It's not padding; it's the line item that pays for the surprise you will find. On a six-figure scope, that reserve keeps you from stopping mid-renovation when the first hidden problem appears.
We provide transparent pricing and a clear scope before work begins, so you know what is included and what triggers a change order. You can request a free estimate and see current pricing on our website.
1970s Kitchen Renovation Ideas That Work Today
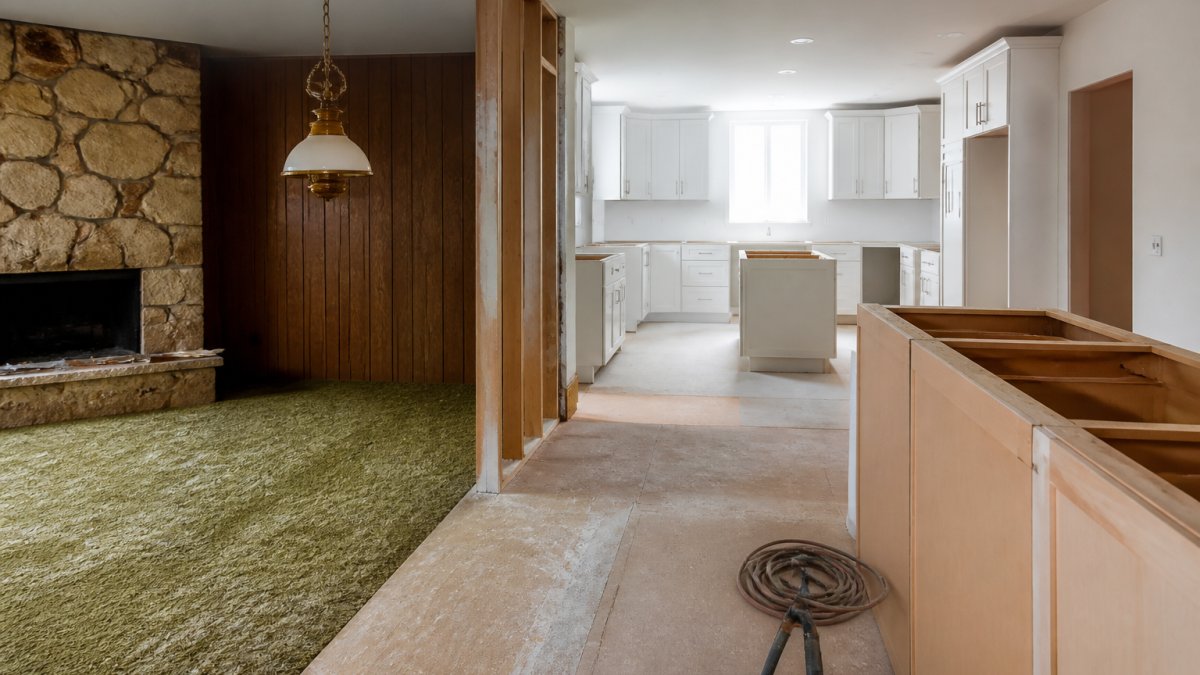
The most successful 1970s kitchen renovation ideas keep what is good about the original space and fix what is not. Galley and U-shaped layouts from this era are genuinely efficient, and they often just need better storage, improved lighting, and a connection to the adjacent living area.
Start with the diagnosis, not the mood board
Before choosing a single finish, confirm what the kitchen can actually support. On a 1970s home, that means checking:
- Electrical capacity. A 100-amp panel with aluminum branch wiring will not carry an induction range, a dishwasher, a microwave, and a dedicated refrigerator circuit without an upgrade. Confirm this before you fall in love with an all-electric layout.
- Ventilation path. A ducted range hood needs a route to the exterior. If the original kitchen vented through a recirculating unit, you may need to cut a new penetration through the wall or roof.
- Plumbing location. Keeping the sink and dishwasher on the existing drain stack saves real money. Moving them means new drain runs and venting to code.
What works
- Open the wall to the dining or living room where structure allows, which transforms how the whole main floor functions.
- Keep the U or galley footprint if it already works, and invest the savings in cabinetry and surfaces.
- Add layered lighting. Recessed task lighting plus pendants over an island solves the dim, single-fixture problem these kitchens were built with.
What to avoid
- A full period reproduction. You want a kitchen that reads as current in ten years, not one pinned to a decade.
- Removing a wall before confirming it is not load-bearing. This is the single most expensive mistake in a 1970s kitchen.
- Skipping the electrical upgrade to save budget. You will pay for it later, and usually at a worse time.
1970s Bathroom Renovation Ideas for Modern Living
Bathroom renovation ideas for these homes start with the reality that the original bathrooms are usually small, poorly ventilated, and plumbed for a single vanity.
Options worth considering:
- Freestanding tub versus built-in. A freestanding tub frees floor space and reads as a deliberate design choice. A built-in tub is easier to clean around and better if the room is tight.
- Convert a tub-and-shower combo into a walk-in shower with a linear drain, which is safer and easier to maintain.
- Move the vanity to a floating design to make a small room feel larger.
One of our clients, Sofia Z., put it simply after her bathroom renovation: "The attention to detail and communication throughout the project made the entire process stress free. Everything was completed cleanly and on schedule."
Insulation, Air Sealing, and Moisture Control for Ontario Homes
Insulation and air sealing deliver the highest return of any upgrade in a 1970s home, because these houses were built before modern energy requirements and leak air at every penetration. Ontario's climate swings from deep freeze to humid summer, and that swing punishes a weak building envelope.
Where to focus:
- Attic insulation and air sealing first. It's the cheapest place to add insulation and stop heat loss.
- Basement wall insulation and moisture management. Below-grade spaces need a drainage and damp-proofing strategy before insulation goes in.
- Air sealing at penetrations. Rim joists, sill plates, and around pipes and wiring are the biggest culprits.
The order matters. Insulate and air seal, then verify ventilation is adequate. Doing it backwards creates problems you'll pay to fix later.
Sequencing Your Renovation: Timelines and Living Through Construction
Sequencing is what separates a renovation that finishes on schedule from one that drags. The correct order is assessment, design, permits, abatement, structural and system work, envelope, then finishes, with inspections built into each stage.
A typical sequence looks like this:
| Phase | What Happens | Typical Duration |
|---|---|---|
| Assessment and design | Inspection, hazardous materials testing, drawings | 3-6 weeks |
| Permits | Application and municipal review | 2-6 weeks |
| Abatement and demolition | Safe removal, strip-out | 1-2 weeks |
| Structural and systems | Framing, electrical, plumbing, HVAC | 3-6 weeks |
| Envelope | Insulation, air sealing, windows | 2-4 weeks |
| Finishes | Drywall, tile, cabinetry, fixtures | 4-8 weeks |
Living through construction is manageable if it's planned. Contain dust with sealed barriers, keep at least one functioning bathroom and a temporary kitchen setup, and agree on a communication rhythm so you always know what's happening next.
If you're weighing a full kitchen renovation alongside a bathroom, we can run both concurrently with the right sequencing, and we'll tell you honestly when doing them separately makes more sense.
Frequently Asked Questions
What should I check before renovating a 1970s home?
Start with a professional inspection covering structural integrity, electrical systems, plumbing, insulation, and potential hazardous materials like asbestos and lead paint. Check the foundation for cracks, examine the roof age, and test for moisture issues in the basement. A renovation checklist helps you prioritize repairs before cosmetic work begins. Restmark Renovations can assess your property and identify what needs attention first.
How much does it cost to renovate a 1970s home?
Renovating 1970s homes costs vary widely based on scope, materials, and whether you address structural or system upgrades. A kitchen renovation costs differently than a full gut renovation. Factors include layout changes, electrical and plumbing upgrades, insulation improvements, and permit fees. Request a detailed estimate from Restmark Renovations for your specific project, as pricing depends on your home's condition and your design choices.
What permits might I need for a home renovation in Ontario?
Permits depend on the work. Structural changes, additions, plumbing, electrical, and HVAC modifications typically require permits. Cosmetic updates like painting or flooring usually do not. Your municipality enforces the Ontario Building Code, and inspections occur at key stages. Skipping permits can result in fines, forced removal of work, and problems when selling. A professional contractor handles permit applications and coordinates inspections.
Should I renovate a 1970s home all at once or in stages?
Staging lets you spread costs and minimize disruption, but addressing building systems first (electrical, plumbing, insulation) prevents rework later. If your budget allows, a whole-home renovation is more efficient because trades can work simultaneously and you avoid mobilizing twice. For phased projects, complete structural and system upgrades before cosmetic finishes. Discuss your priorities with a contractor to plan a realistic sequence.
How can I modernize a 1970s home without losing its character?
Preserve architectural features like exposed beams, brick fireplaces, or original wood floors while updating finishes, lighting, and layout. Mid-century modern elements blend well with contemporary design. Open up closed-off spaces, improve natural light, and choose materials that respect the home's era. The goal is to honor what makes the home unique while improving comfort, energy efficiency, and function.
What are the main costs in a 1970s home renovation?
Major cost drivers include structural repairs, electrical upgrades to meet current code, plumbing replacement, insulation and air sealing, windows, and hazardous material abatement. Kitchen and bathroom renovations add finishes, cabinetry, and fixtures. Permits, design fees, and contractor labor also factor in. Unexpected issues behind walls often increase budgets, so a contingency fund of 15-20% is wise.
Renovating an older home comes with real unknowns, and the difference between a smooth project and a difficult one is preparation. Restmark Renovations handles full home, kitchen, bathroom, and basement renovations with refined craftsmanship, transparent pricing, and thoughtfully managed timelines, so you know what's happening at every stage. Get started with Restmark Renovations and turn your dated property into a home that works for how you live now.