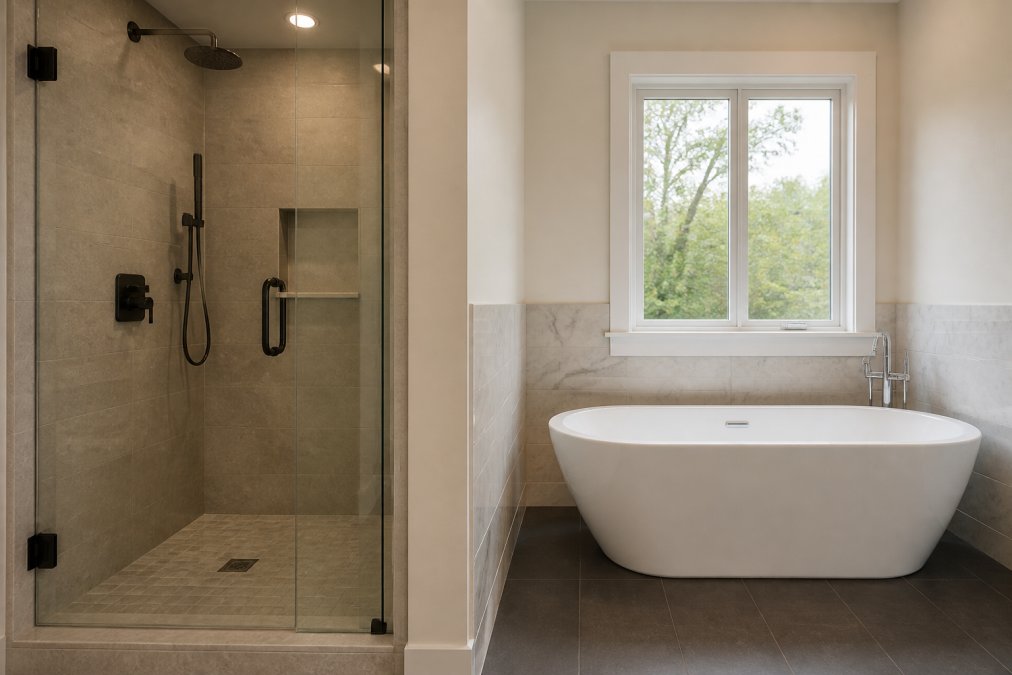
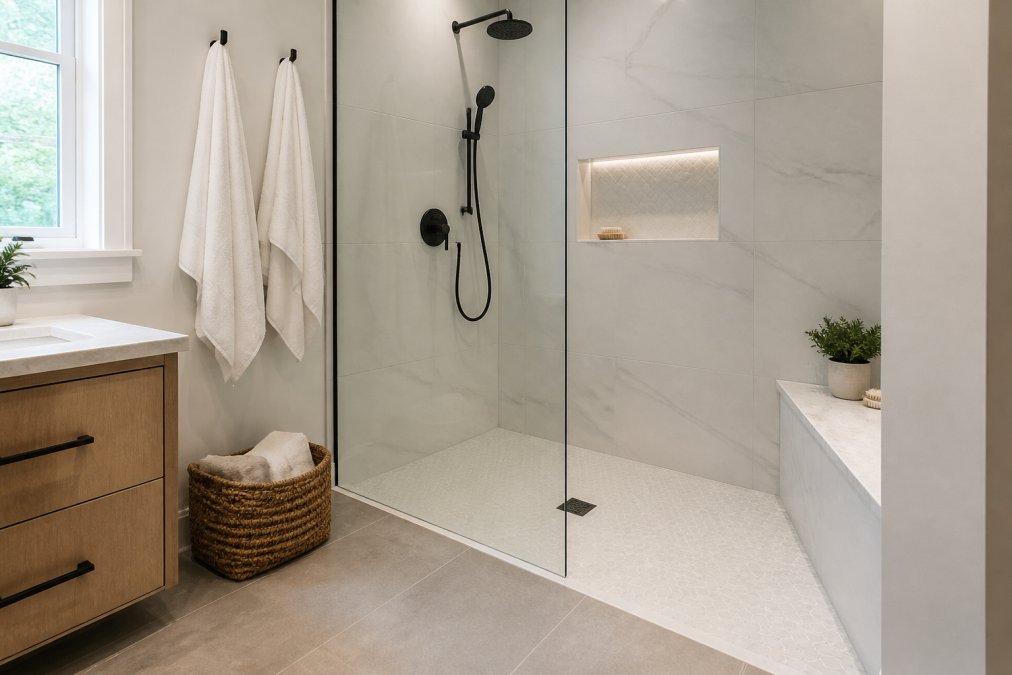
 comparison
Is a Curbless Shower Worth the Cost? A 2026 Guide
Table of Contents
- What a Curbless Shower Actually Involves
- Pros and Cons of Curbless Showers
- Walk-In Shower Cost Breakdown: What Drives the Price
- Curbless Shower Waterproofing Requirements You Cannot Skip
- Structural and Code Requirements for a Curbless Shower
- Long-Term Maintenance and Leak Detection Costs
- Resale Value and Universal Design: Does It Pay Off?
- Frequently Asked Questions
Last Updated: September 23, 2026
What a Curbless Shower Actually Involves
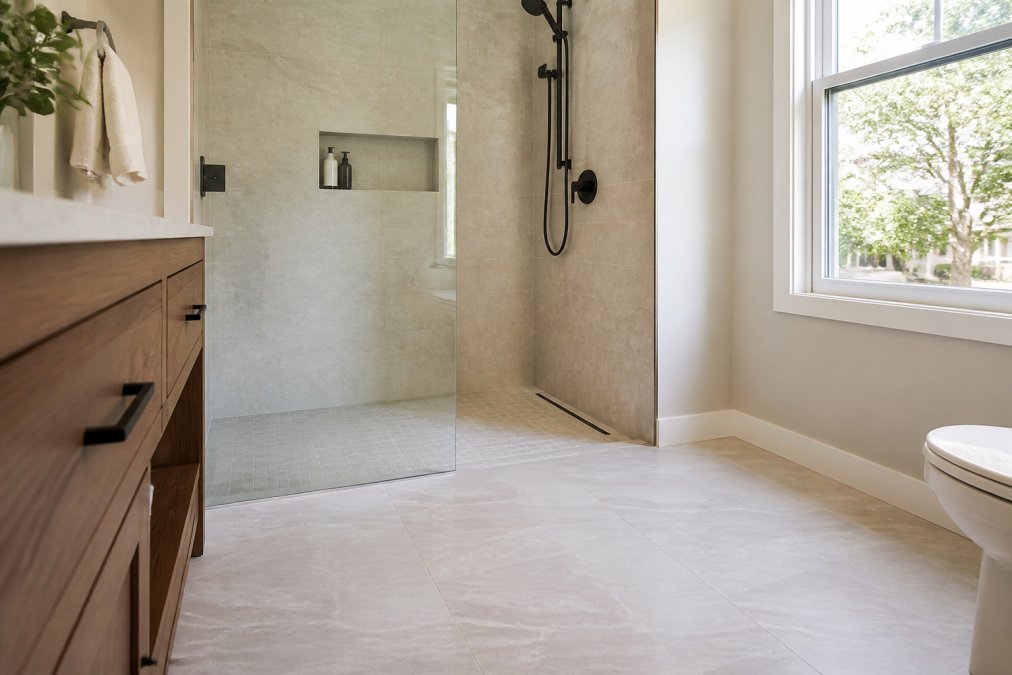
A curbless shower is a walk-in shower with no raised threshold, where the bathroom and shower floors form one continuous, gently sloped surface. That means removing the curb, recessing the subfloor, and building a waterproof, sloped base that carries water to a linear drain.
Why the Floor Structure Decides Everything
The floor structure decides whether a curbless shower is a modest upgrade or a major rebuild. A true threshold-free entry usually requires the shower floor to sit lower than the surrounding floor, which means cutting into and rebuilding the subfloor and framing.
Pros and Cons of Curbless Showers
The pros and cons of curbless showers come down to accessibility and looks versus cost and complexity. The design wins on openness and safety; it loses on installation demands and price.
Where Curbless Showers Win
- Accessibility and universal design. A threshold-free entry removes the step that trips people up, which matters for aging in place and anyone with mobility issues.
- Aesthetic appeal. The floor flows from the bathroom into the shower, making a small bathroom feel larger.
- Easier cleaning. There's no curb to scrub or grout line to trap grime.
- Slip-resistant flooring options. Large-format tile and textured surfaces work well with a single slope when installed correctly.
Where They Fall Short
- Upfront installation cost. Structural work and waterproofing push the price well above a curbed shower.
- Labor-intensive framing. Recessing the subfloor and setting the slope takes skill and time.
- Water containment risk. Without a curb, waterproofing has to be flawless, there's no physical barrier to stop water escaping.
- Less forgiving of error. A poorly sloped floor or compromised membrane leads to leaks that are hard to trace.
Walk-In Shower Cost Breakdown: What Drives the Price
The walk-in shower cost breakdown is driven mostly by labor and structural work, not fixtures. Two showers with identical tile can differ sharply in price based on what's underneath.
The main cost drivers are:
- Subfloor recessing and framing to create depth for the sloped base
- Waterproofing membrane systems and the labor to install them correctly
- Linear drain hardware, typically a few hundred dollars into the low thousands depending on size and finish
- Tile and stone, including the extra cutting a sloped floor requires
- Plumbing rough-in changes when the drain location moves
Curbless Shower Waterproofing Requirements You Cannot Skip
Curbless shower waterproofing requirements are stricter than those for a curbed shower, because there is no curb to contain splash and overflow. The entire shower floor and surrounding floor must be treated as part of the wet area.
The Membrane, the Slope, and the Drain
Three elements have to work together:
- A continuous waterproofing membrane that covers the shower floor, walls, and the transition to the main floor, with sealed corners and seams.
- A consistent slope-to-drain so water always moves toward the drain instead of sitting.
- A linear drain sized for the water volume, set at the low point of the slope.
Systems like Hydro Blok and TruGard Direct are built specifically for this, using pre-sloped foam cores and vapor-tight membranes that reduce the guesswork of a traditional mud-bed build. The National Tile Contractors Association installation guidelines are a useful reference for how membranes and drains should be detailed.
Structural and Code Requirements for a Curbless Shower
Structural and code requirements for a curbless shower center on floor depth, framing, and drainage. In most cases the subfloor must be recessed, so the joists and framing have to be assessed before any tile goes down. This section decides whether your project is a straightforward renovation or a rebuild.
What the Floor Actually Has to Do
A curbless shower needs two things the surrounding floor does not: a recess deep enough to hold a sloped bed, and a continuous path for water to reach the drain without crossing a raised edge. In practice the shower floor sits roughly 1 to 2 inches below the finished bathroom floor, depending on the drain assembly and tile thickness, depth that usually comes from the floor structure.
There are three common ways to get it:
- Recess the subfloor between the joists. The framing is dropped or the subfloor cut and re-supported so the shower pan sits lower than the surrounding floor. Cleanest result, but requires access from below or careful in-floor framing.
- Raise the surrounding bathroom floor. The rest of the bathroom is built up on a sleeper system or thicker underlayment. Avoids cutting joists but eats ceiling height and complicates the door transition.
- Use a pre-sloped foam pan with a low-profile drain. Some systems achieve a near-flush entry with less recess, but the drain body still needs vertical room, so the subfloor usually still has to be opened up.
Joist Depth, Span, and Notching
This is where older homes get expensive. A 1970s bathroom may have nominal 2x8 joists at 16 inches on center, already near their maximum span. Notching a joist to gain depth weakens it, and codes limit how much material can be removed. The fix is often to sister the joists, add a beam, or reframe the shower area entirely.
A few practical checks before demolition:
- Joist size and spacing. Confirm actual dimensions, not the nominal label, a planed-down 2x8 is thinner than the name suggests.
- Span and direction. Joists running the wrong way relative to the drain can force a slope redesign.
- Notching and boring limits. Most codes restrict notches to a fraction of the joist depth and prohibit them in the middle third of the span. A structural review should confirm what's allowed before anyone cuts.
- Load path. A recessed shower pan adds weight, and the framing must carry it along with tile, mortar, and any glass enclosure.
Code and Compliance
On the code side, Ontario's Building Code governs how plumbing, drainage, and structural changes are handled, and accessibility features often follow CSA Group accessibility standards and universal design principles. Requirements vary by municipality, so confirm the specifics for your project rather than assuming a single rule applies everywhere.
Two compliance points come up repeatedly:
- Drain and venting. Moving a drain for a linear installation can change the plumbing rough-in, and venting must remain code-compliant. This is a permit item in most jurisdictions.
- Waterproofing and slope. Many codes require a minimum slope to drain and a waterproof membrane in wet areas. A curbless design doesn't exempt you from those rules, it makes them harder to satisfy, because there's no curb to hide a marginal slope.
| Requirement | Why It Matters | What to Check |
|---|---|---|
| Recessed subfloor | Creates depth for slope | Joist depth and direction |
| Floor joists | Carry the new load | Span, sistering, and reinforcement needs |
| Notching limits | Preserve structural strength | Code limits on cuts and holes |
| Drainage capacity | Prevents overflow | Drain size vs. water volume |
| Slope-to-drain | Moves water out | Consistent fall to the drain |
| Waterproofing | Contains water | Membrane at all seams |
Retrofitting an Existing Bathroom
Most content on curbless showers assumes a new build. In a retrofit, the existing drain location, joist direction, and ceiling height below all limit your options. A common pattern is to keep the drain roughly where it is, recess only the shower footprint, and use a linear drain along the back wall so the slope runs one direction, reducing framing changes and simplifying the plumbing rough-in.
Long-Term Maintenance and Leak Detection Costs
Long-term costs for a curbless shower are mostly about leak prevention and early detection, not daily cleaning. With no curb, a small membrane failure can spread water into the floor assembly before you notice it, the biggest factor in whether a curbless shower pays off over its life.
What Routine Maintenance Actually Costs
Day-to-day upkeep is modest: no curb to scrub and fewer grout lines to trap grime, so cleaning is often easier than a curbed shower. The recurring costs are:
- Caulk and sealant refresh. Inspect the floor-to-wall transition and drain perimeter every 6 to 12 months and re-caulk as needed. A small material cost, but a real labor item if you hire it out.
- Drain cleaning. Linear drains have a grate and channel that collect hair and soap scum; most need cleaning every few weeks to keep flow rates up.
- Grout maintenance. Epoxy grout lasts longer than cementitious grout, but both can crack at movement joints. Catching a hairline crack early is far cheaper than chasing water later.
- Sealer reapplication. Natural stone and some grouts need periodic sealing, a minor cost, but easy to defer until damage is done.
What a Failed Waterproofing System Costs
When a curbless shower membrane fails, the repair is not a patch, water has typically traveled into the subfloor, framing, and sometimes the ceiling below. A realistic repair sequence:
- Demolition. Remove tile, mortar, and the failed membrane from the shower floor and often part of the surrounding floor.
- Drying and assessment. Open the assembly and dry the framing. If there is mold or rot, that is additional remediation.
- Structural repair. Replace any compromised subfloor or joists.
- Rebuild. New membrane, new slope, new tile, and often a new drain assembly.
Leak Detection: What to Watch and When to Act
Early detection is the cheapest insurance you have. Watch for:
- Discoloration or soft spots near the shower entry
- Staining on ceilings below the bathroom
- Persistent damp smells that don't clear with ventilation
- Grout or caulk cracking at the floor-to-wall transition
- A slow drain or water pooling at the entry
Budgeting for the Long Term
Set aside a small annual maintenance budget for caulk, drain cleaning, and periodic inspection, and plan a membrane inspection at the 10- to 15-year mark. Some waterproofing systems carry manufacturer warranties, but those typically cover materials, not the labor and demolition to access a failure, read the terms before assuming you're covered.
Resale Value and Universal Design: Does It Pay Off?
Resale value from a curbless shower comes largely from universal design appeal. A threshold-free shower is a feature buyers notice, especially in a master bath upgrade, and can support a higher asking price in the right market.
Frequently Asked Questions
How much does a curbless shower cost compared to a standard one?
A curbless shower typically costs more than a standard curbed shower because of the extra labor and materials involved. The main cost drivers are subfloor recessing, waterproofing membrane systems, linear drains, and additional framing work. A walk-in shower cost breakdown usually includes demolition, structural modification, waterproofing, tile installation, and plumbing rough-in. Pricing depends on your bathroom layout, tile choice, and whether the floor joists need modification. For an accurate quote based on your space, visit Restmark Renovations' pricing page.
What are the waterproofing requirements for a curbless shower?
Curbless shower waterproofing requirements include a continuous waterproofing membrane across the entire shower floor and up the walls at least 50mm above the showerhead height, a pre-sloped substrate directing water to a linear drain, and sealed seams at all corners and penetrations. The membrane must be compatible with your tile adhesive and drain system. These requirements align with national and provincial plumbing codes, which mandate proper drainage and moisture barriers in wet areas.
Do curbless showers increase home resale value?
Curbless showers can support resale value because they appeal to buyers looking for accessible, modern bathrooms. Universal design features like threshold-free entries attract aging-in-place buyers and families with mobility issues. However, the return depends on your local market and the quality of installation. A poorly waterproofed curbless shower that leaks will hurt resale more than it helps. When done correctly with proper waterproofing and drainage, it becomes a selling point in a bathroom renovation.
Can a curbless shower be installed in any bathroom?
Not every bathroom can accommodate a curbless shower without structural changes. The floor joists must allow for recessing the subfloor to create the slope-to-drain without raising the bathroom floor above the adjacent room. Bathrooms on a concrete slab require chipping into the slab. Integration with existing bathroom layouts also depends on drain placement and plumbing rough-in. A contractor can assess your floor structure and determine whether a curb-to-curbless conversion is feasible.